
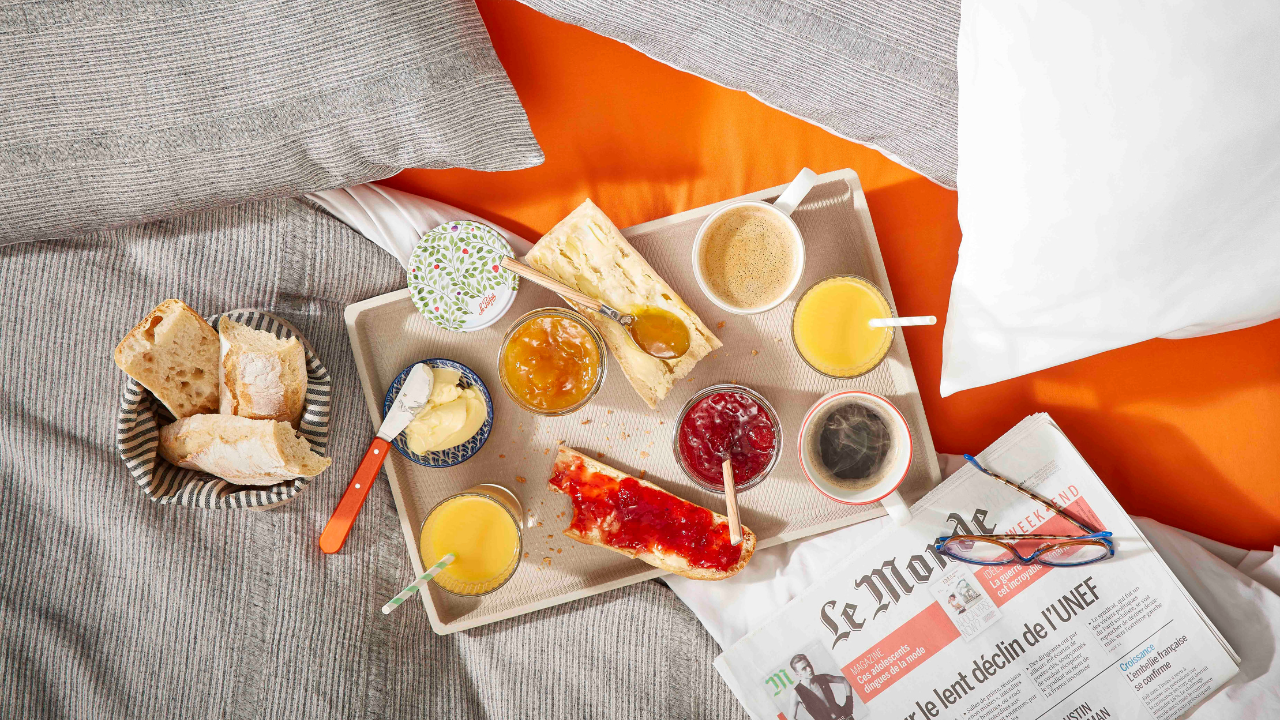
Are you tired of turning your strawberries into sweet soup or your apricots into reinforced concrete? You are not alone! Jam is a bit like cycling: it seems simple until you start. But rest assured, after reading this article, you will finally be able to impress grandma with YOUR jars (and not those from the hidden supermarket in the closet).
Even if making jam is not heart surgery, a minimum of equipment is still necessary. Think of your future mission like that of a superhero: you need your equipment!
The essentials:
-
Jars in sufficient quantity (with 1 kg of fruit, count approximately 3 jars of 324 ml)
-
NEW lids (yes, even if you recycle store-bought jars – old lids are non-negotiable!)
-
A large saucepan or, for the most motivated, a copper or stainless steel jam basin (you will look like a pro)
The little extra that changes everything: A ladle, skimmer and funnel will make your life much easier when filling. Because a kitchen repainted with strawberry jam is pretty for 5 minutes.
It’s THE star of your recipe, so don’t skimp! Your fruit should be ripe, but not transformed into compote before it even reaches the pan. And good news: “ugly” fruits are perfect for jam! Less expensive and just as delicious, they deserve a second chance.
The trap to avoid: Fruits that are too green will result in a bland jam (they have not had time to develop their aromas). Conversely, overripe fruit risks giving you runny jam that stubbornly refuses to set.
Chef's tip: Mix some firm fruit with your ripe fruit to find the perfect balance between texture and taste.
3. Don't neglect pectin: the secret to a jam that holds up
Pectin is what allows your jam to set. Without it, you will get a delicious... fruit syrup. Some fruits naturally contain a lot, others much less!
-
Fruits rich in pectin: For quinces, oranges or lemons, no problem! A classic sugar combined with appropriate cooking will be enough to give you a beautiful texture.
-
Fruits low in pectin: For strawberries, rhubarb or cherries, it's another story. We recommend that you drain them beforehand: cover them with the sugar provided in the recipe for at least 2 hours (the ideal is to leave them overnight!). This little magic trick allows the water to come out of the fruit and guarantees a better set. You can also add half an apple to your preparation to naturally increase its pectin content.
Another option: use special jam sugar, enriched with pectin, to be sure to obtain the desired texture.
-
The bonus tip: In all cases, add the juice of a lemon to your preparation. Not only does it increase the pectin level, but it also improves the stability and therefore the good preservation of your jam.
4. Stir regularly but not continuously: the art of the happy medium
Be careful, this is where things get tricky! Don't fall into the trap of the beginner who frantically stirs his jam as if he were beating eggs. Stirring constantly prevents the jam from setting properly. But do nothing at all, and presto, it attaches to the bottom!
The winning technique: Lively but short cooking, with regular but spaced spoon strokes. Think of it as a waltz rather than a marathon. Overcooked jam becomes too thick and loses its taste; not cooked enough, it remains liquid like a syrup.
5. Skim for a pretty jam
To begin with, what is skimming? While your jam cooks, a white foam will form on the surface. It can be composed of several things: trapped air, impurities present in the fruit, pulp residue, etc.
Although this step is not obligatory, it will significantly improve the quality of your jam, especially on fruits containing little pectin which tend to produce a lot, such as strawberries, rhubarb or raspberries.
You can skim off at the end of cooking just before potting. To do this, take your skimmer (or failing that a large spoon, but it is less practical) and remove the foam present on the surface.
By removing the scum from your jam, its color will be brighter, the general appearance will be cleaner, but above all you will reduce the risk of fermentation and mold inside your jars!
6. Dare to make creative associations: room for imagination!
Once you have mastered the basics, let go! It's your time to become a jam artist. Some ideas to inspire you:
-
Cherries + ginger or Sichuan pepper (to kick the taste buds)
-
Strawberries + thyme or rosemary (subtle and surprising)
-
Apricots + vanilla and lavender
-
Peaches + basil
The combinations are endless, so let your gourmet creativity speak!
7. Test the hold: the cold plate technique
The moment of truth! To know if your jam is ready, use the ancestral plate technique:
-
Place a plate in the freezer a few minutes before the test
-
Take a small spoonful of jam
-
Place it on the cold plate
-
Tilt the plate: if the jam flows slowly, you're a winner! If it goes downhill at full speed, continue cooking
Simple, effective, and it’s worked for generations!
8. Store your jam properly: the home stretch
You're almost there! Don't waste all your efforts now. Take out your clean jars and your clids newfs, and choose your method according to the type of fruit used.
For acidic fruits (pH < 4.5): citrus fruits, red fruits, etc. Use the auto-pasteurization method:
-
Fill your jars hot
-
Screw on the lid
-
Wait 1 to 2 minutes for the joint to soften
-
Turn the jar upside down to create a vacuum
For low acid fruits: apricots, peaches, etc. Heat treat after filling (refer to your recipe for the time required).
The crucial tip: Sterilize your jars just before filling them so they are still warm. A cold jar + boiling jam = risk of thermal shock and exploding jar. Not glamorous.
Then store your precious jars in a cool, dry place away from light. And wait at least 24 hours before tasting (yes, we know, it's difficult).
Summary: The 8 commandments of perfect jam
-
Your material you will prepare : jars, new capsules, basin and skimmer
-
Ripe fruit (but not too ripe) you will choose : quality above all
-
Pectin you will respect : disgorging, lemon or special sugar depending on the fruit
-
In moderation you will stir : brisk but short cooking, regular but not frenetic stirring
-
The foam you will remove : for a bright and well-preserved jam
-
Creative you will be : spices, herbs, dare to combine them!
-
The socket you will test : the cold plate is your best friend
-
Properly you will keep : method adapted to the pH of the fruits + sterilized jars
FAQ: Your most frequently asked questions
How long does homemade jam last? Well prepared and unopened, jam can be kept for 1 to 2 years in a cool, dry place. Once opened, consume it within 3 to 4 weeks and store it in the refrigerator.
Can we reduce the amount of sugar? Yes, but be careful: the sugar is not only there for the taste, it also helps with preservation and setting. Use special “low-fat jam” sugar or add agar-agar to compensate.
My jam hasn't set, what should I do? Don't panic! Return it to the pan, add lemon juice and gelling sugar, then cook it for 5 to 10 minutes.
Should you peel the fruit? It depends! For fruits with thin, edible skin (strawberries, raspberries), this is not necessary. For thick-skinned fruits (peaches, apricots), this is preferable for texture.
Now that you have all the keys in hand, all you have to do is get started! And don't forget: even a failed jam is still edible (on toast, in yogurt, or diluted in sparkling water). Happy jam everyone! 🍓🍑🍒
Find our best recipes for you inspirer here:
Our news
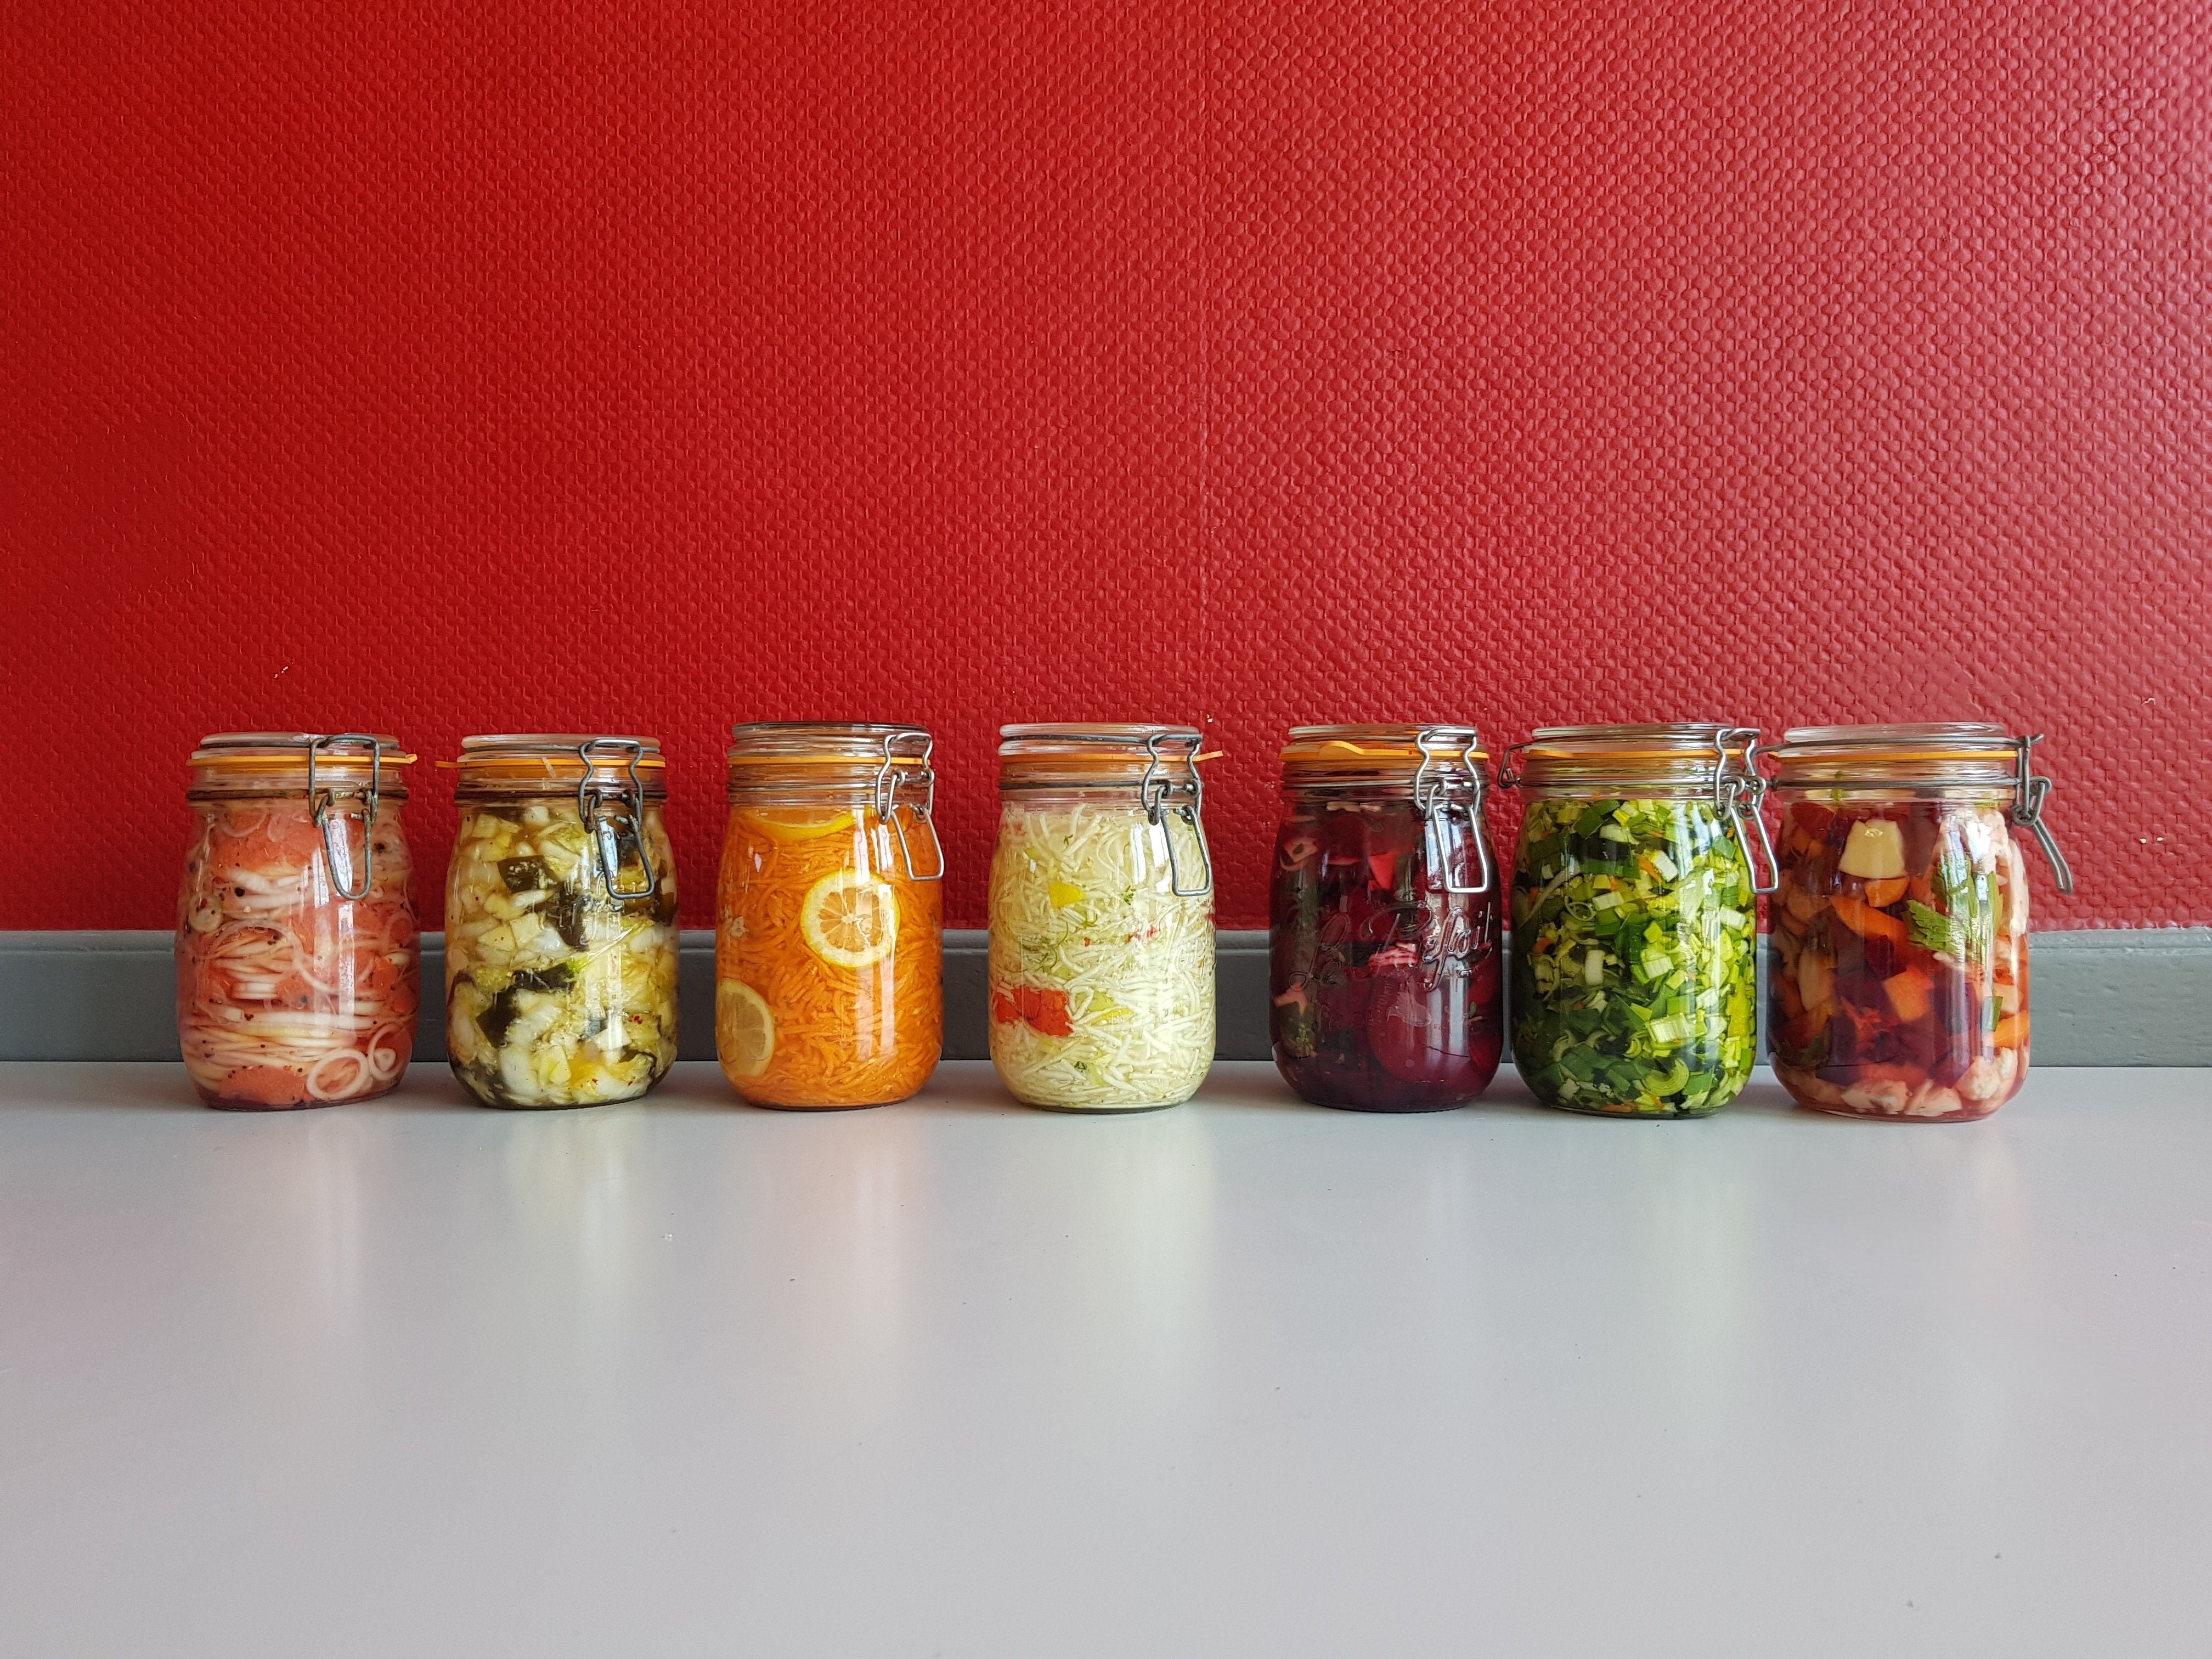
Getting started with fermentation: everything you need to know to get started with peace of mind
Who has never backed away from a jar of homemade sauerkraut, intimidated by those mysterious bubbles and that tangy smell? Rest assured: fermentation is undoubtedly the simplest, safest and oldest preservation method available. No need for complicated equipment or a...
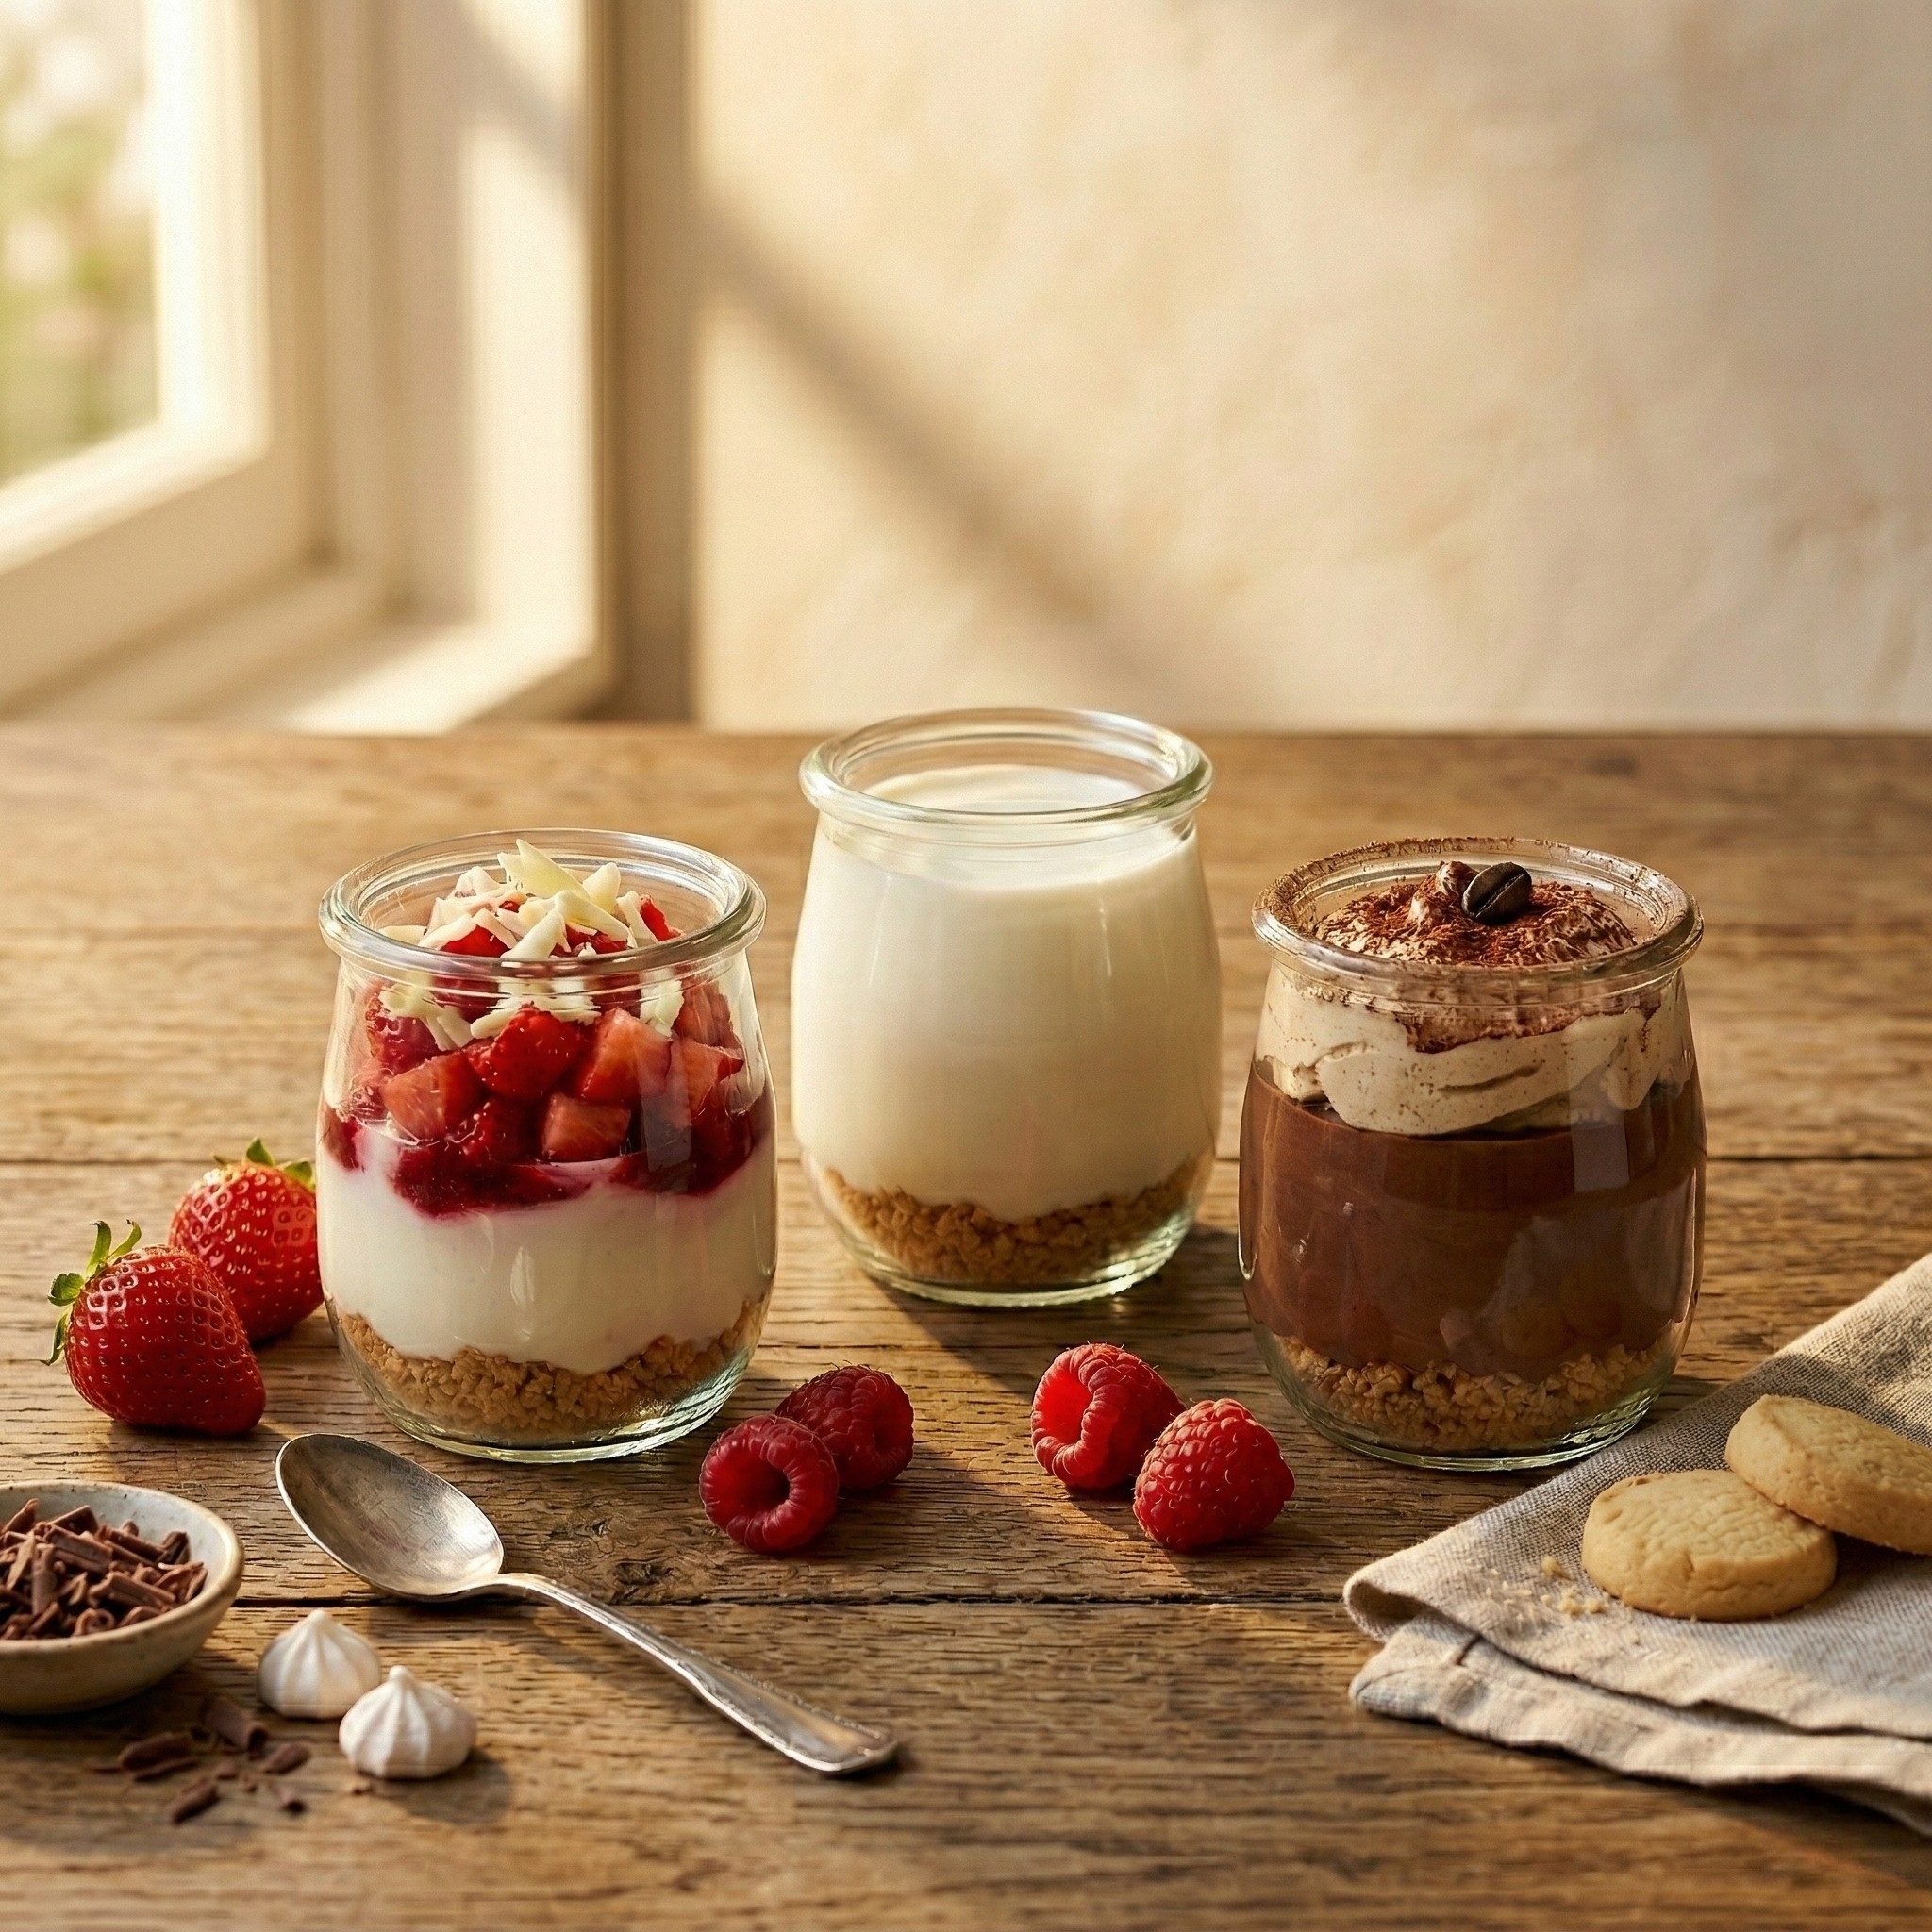
How to make yogurt without a yogurt maker in 6 steps?
You want to start making your own first homemade yogurts, but you don’t have a yogurt maker? Before investing, do you want to be sure that you are really going to do it? We understand you! Here is our complete...
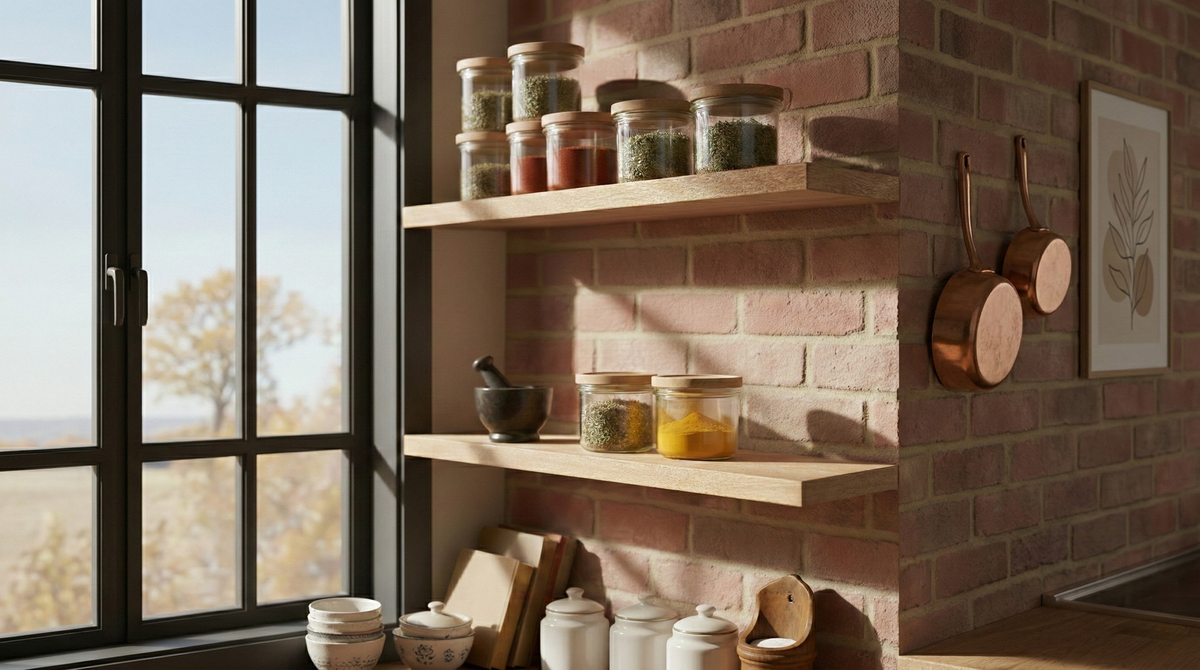
For spices and bulk, the glass jar Le Parfait Wood Edition
Rediscover the pleasure of orderly and inspiring cooking! No more cluttered cupboards, no more bags of spices and packets of pasta who pile up and disembowel themselves. With the new bocal Le Parfait Wood Edition, your shelves are transformed into a real little grocery store with authentic charm. Alliant the...