
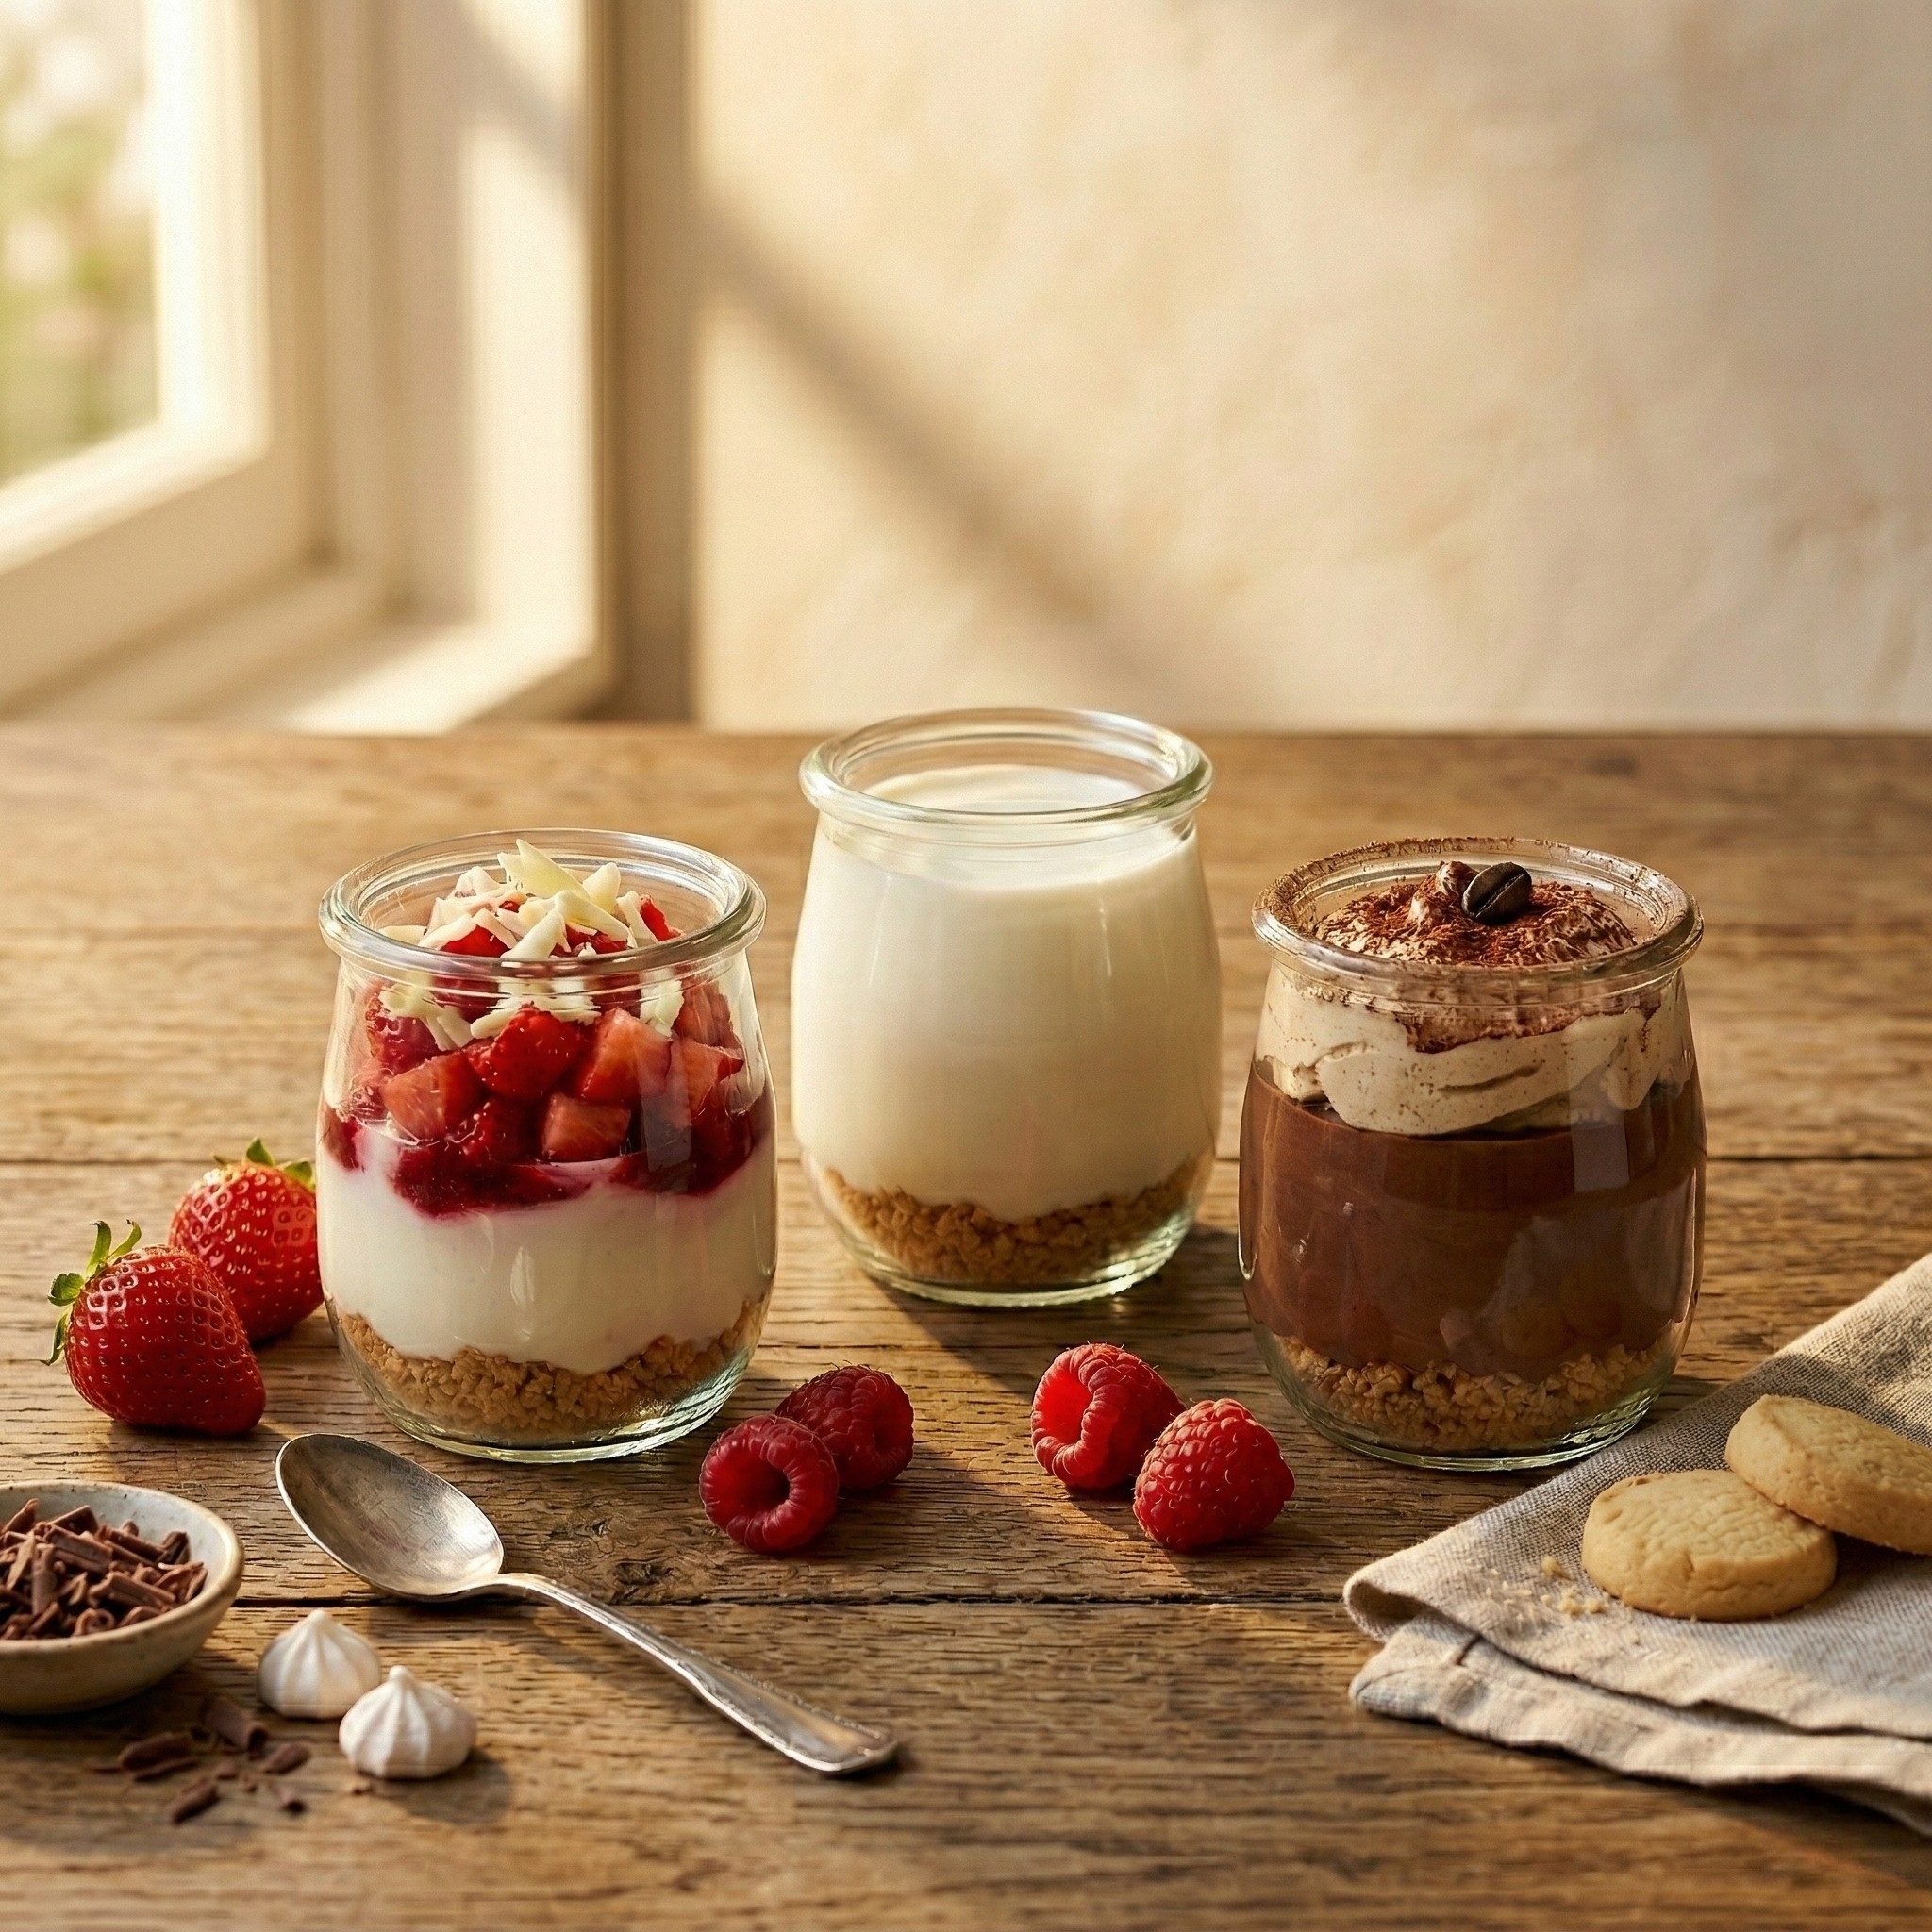
You want to start making your own first homemade yogurts, but you don’t have a yogurt maker? Before investing, do you want to be sure that you are really going to do it? We understand you! Here is our complete guide to making homemade yogurts without yogurt maker, in 6 simple steps.
But before we begin, a quick detour into science — I promise, it's quick and it changes everything. The transformation of milk into yogurt is based on two elements: lactic fermentation and heat. By adding cultures to hot milk, you give good bacteria the ideal environment to grow. Their mission? “Eat” the lactose present in milk and transform it into lactic acid. This process then triggers two phenomena:
· Acidification: the milk becomes more acidic, which gives it its characteristic taste.
Clotting : under the effect of acidity, milk proteins (caseins) bind together to form a solid network. This is what allows milk, initially liquid, to become firm and creamy.
That's it, that's all. Now let's get down to business.
1 – Choose the right ingredients
This is the most important step — and the good news is, you only need two ingredients. Milk, whole and organic preferably for a creamier texture, and ferments.
For the latter, several options are available to you:
- Use a store-bought yogurt containing live lactic ferments. This is the easiest option, especially if you're going on a whim — you probably already have one in the back of the fridge😉
- The lactic ferments in sachets, available in pharmacies, organic stores or on the internet. Regular results, long shelf life: this is the ideal option if you plan to make homemade yogurt often.
- The milk kefir, which we recommend when you are more experienced and want to explore new alternatives. It provides a more tangy taste, but the texture is often more liquid.
The golden rule, whatever your choice: the ferment must contain live lactic ferments. Without that, no fermentation, no yogurt. Check the label.
2 – Heat your milk, but not too much!
Heat your milk in a saucepan until it reaches a temperature between 37° and 40°C. This is the ideal range for the ferments to be active. Beyond that, you risk killing them — and then nothing will work. Our thermometer spatula is your best friend for this step.
3 - Mix the ingredients
Remove from the heat, add your yogurt or ferment to the hot milk and mix until you obtain a smooth mixture. homogeneous.
It's also time to flavor it if you wish: vanilla, honey, cinnamon... it's up to you. And if you prefer a firmer, creamier texture, add one or two tablespoons of powdered milk.
4 – Let it “cook” gently
This is where, without a yogurt maker, things get a little more creative — but don't panic, we've got you covered. Pour your preparation into pots, then choose your method of maintaining heat:
- The pressure cooker : heat a little water at the bottom, remove from the heat, place your pots inside without their lid, close the casserole dish and leave to rest for at least 6 hours — an entire night is even better.
- The oven : preheat it to 50°C, turn it off as soon as the temperature is reached, and put your pots in the oven wrapped in a cloth. Leave overnight or at least 6 hours.
- The radiator or fireplace : this is the Mac GYver method if you have nothing else or if you want to take the “hardware-free” experience to the end. You can place your yogurts near a gentle heat source overnight.
In all cases, the objective is the same: maintain gentle and constant heat so that the ferments can do their work quietly.
5 – Leave to cool
We're almost there! Once fermentation is complete, place your yogurts in the refrigerator for at least 2 hours, with the lids this time! It is this stage that allows them to take on their final texture and fully develop their flavors. Patience is rewarded. Your yogurts will keep refrigerated for around 5 days.
6 – Save some yogurt for the next batch!
This is probably the most difficult step: resisting the urge to eat everything at once. Consider putting aside one yogurt before jumping on the others — its live ferments will allow you to start your next batch without having to repurchase anything. You have simply created a potentially infinite chain of homemade yogurts. Not bad, right?
You now have all the keys to succeed in your homemade yogurts without yogurt maker. All you have to do is go ahead and taste them, why not accompanied by your best homemade jams (we tell you how to make them here) 😉
Our news
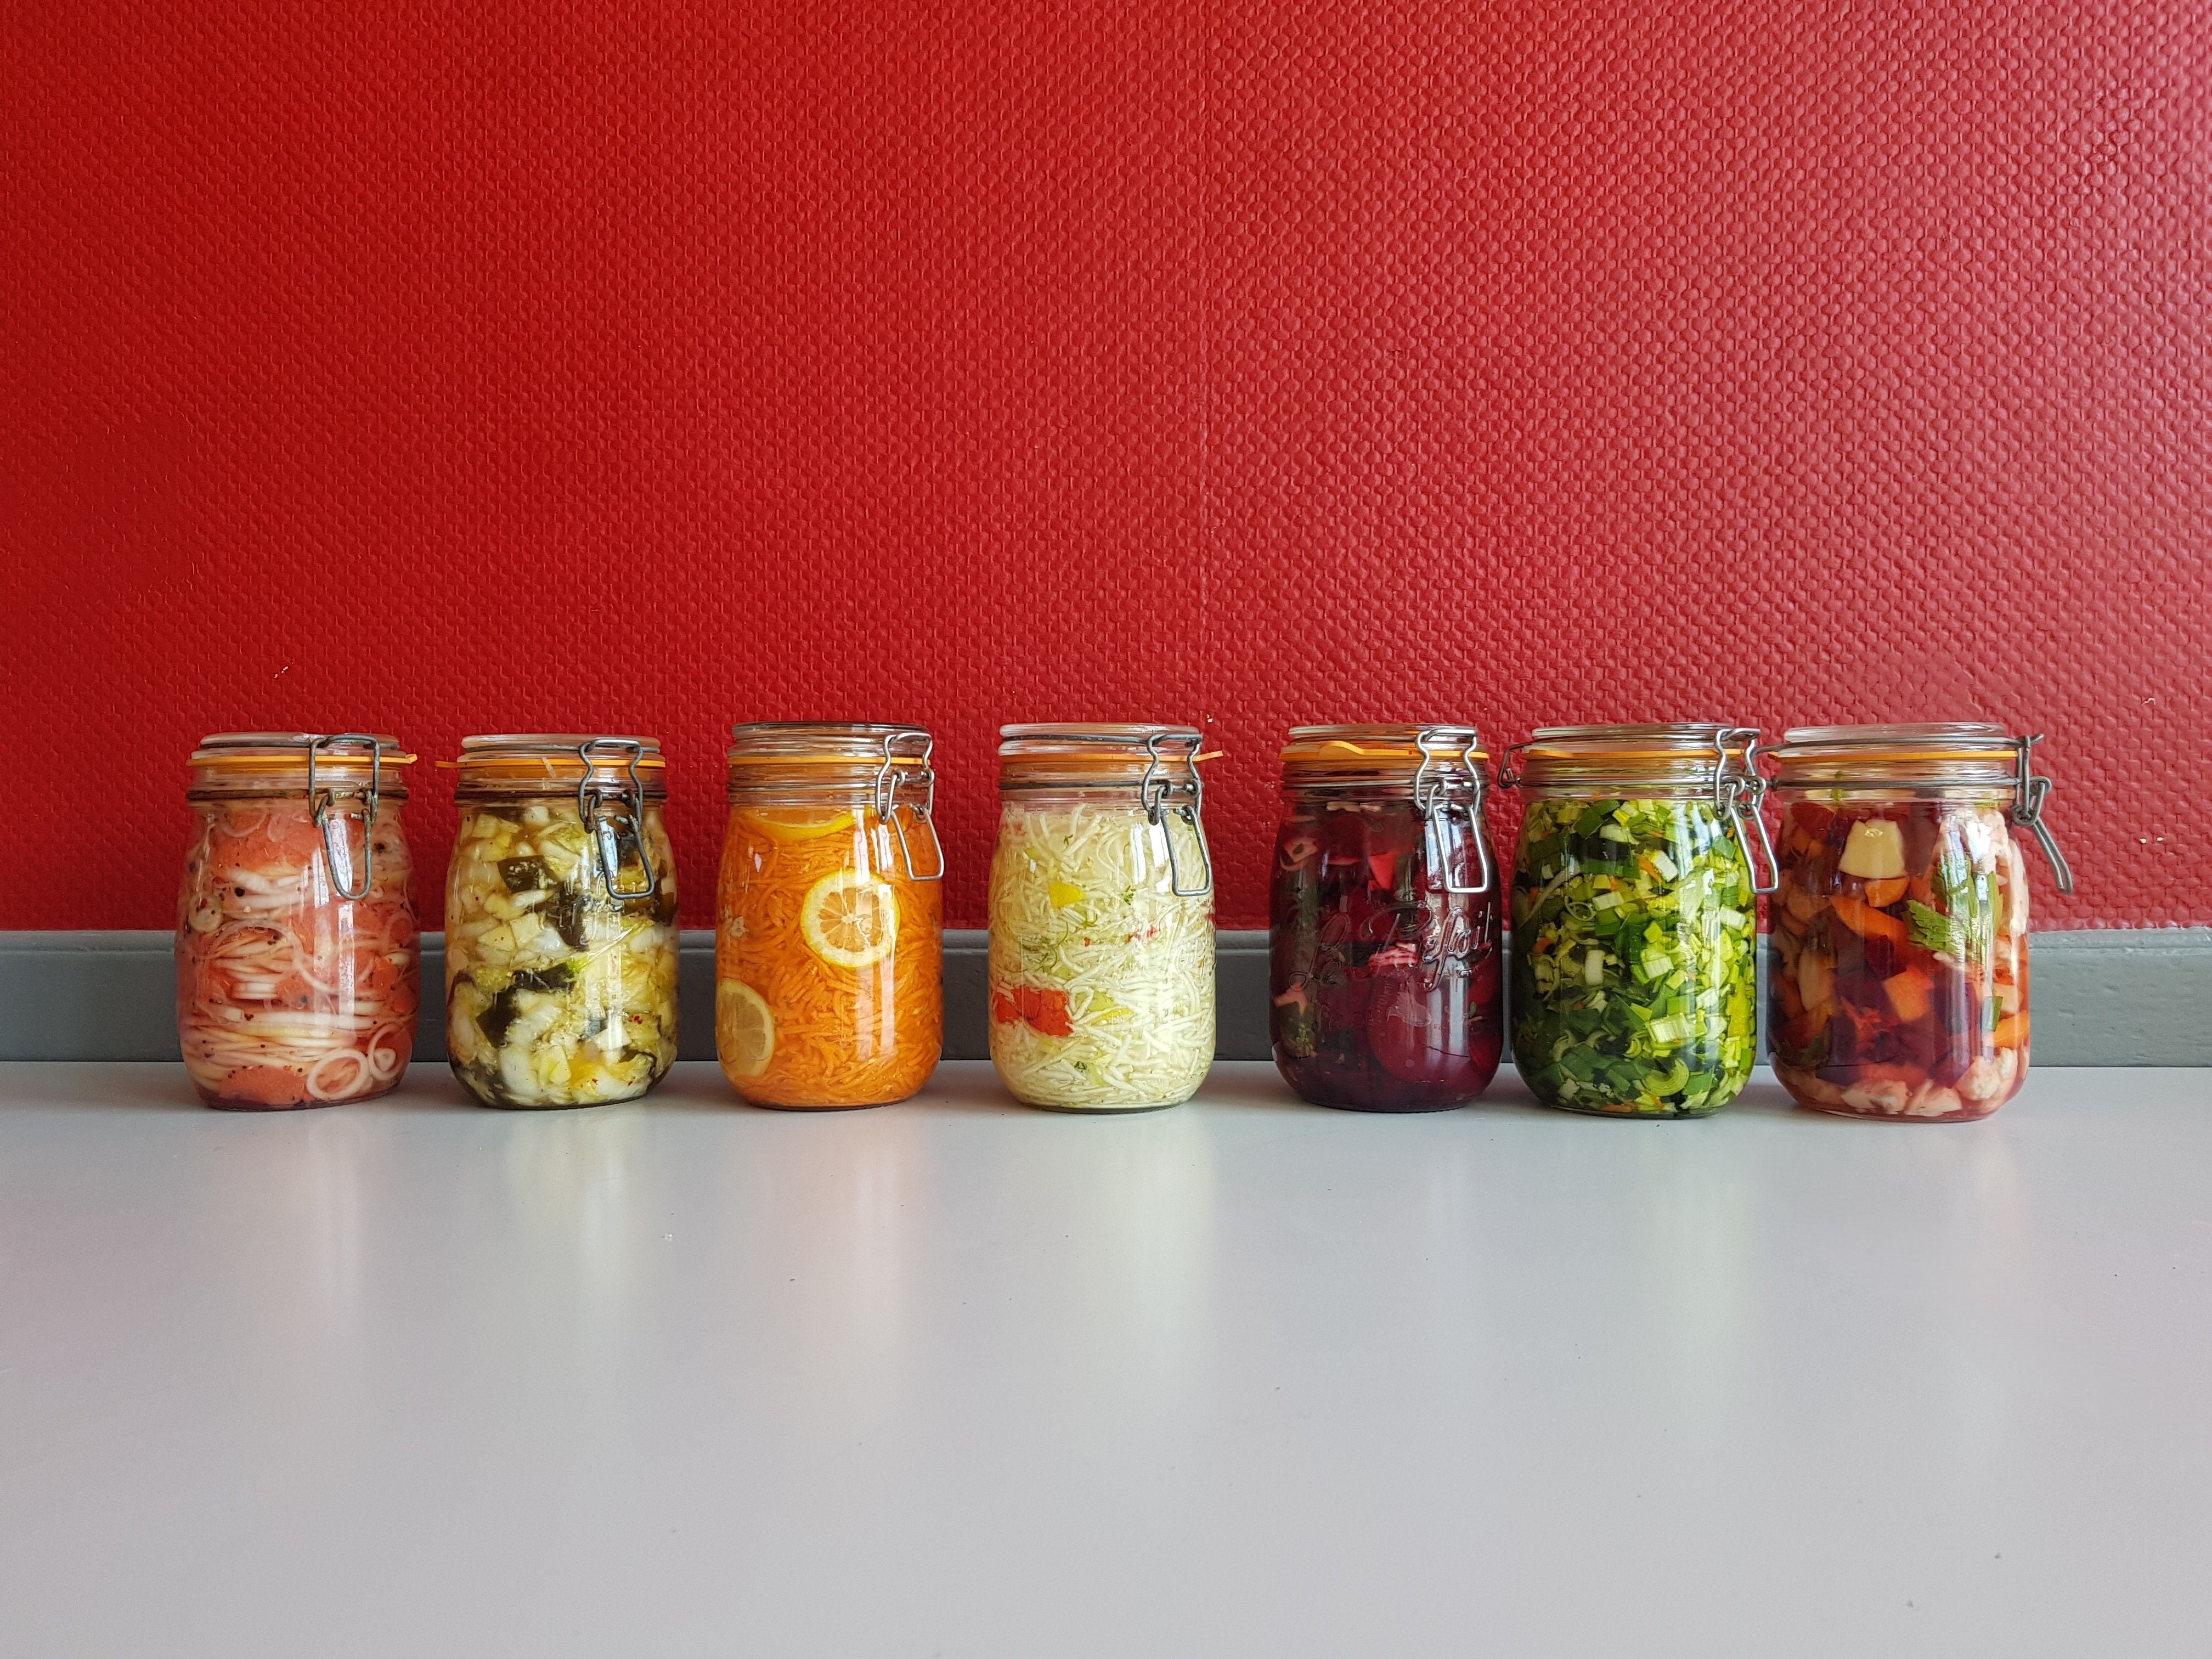
Getting started with fermentation: everything you need to know to get started with peace of mind
Who has never backed away from a jar of homemade sauerkraut, intimidated by those mysterious bubbles and that tangy smell? Rest assured: fermentation is undoubtedly the simplest, safest and oldest preservation method available. No need for complicated equipment or a...
How to make yogurt without a yogurt maker in 6 steps?
You want to start making your own first homemade yogurts, but you don’t have a yogurt maker? Before investing, do you want to be sure that you are really going to do it? We understand you! Here is our complete...
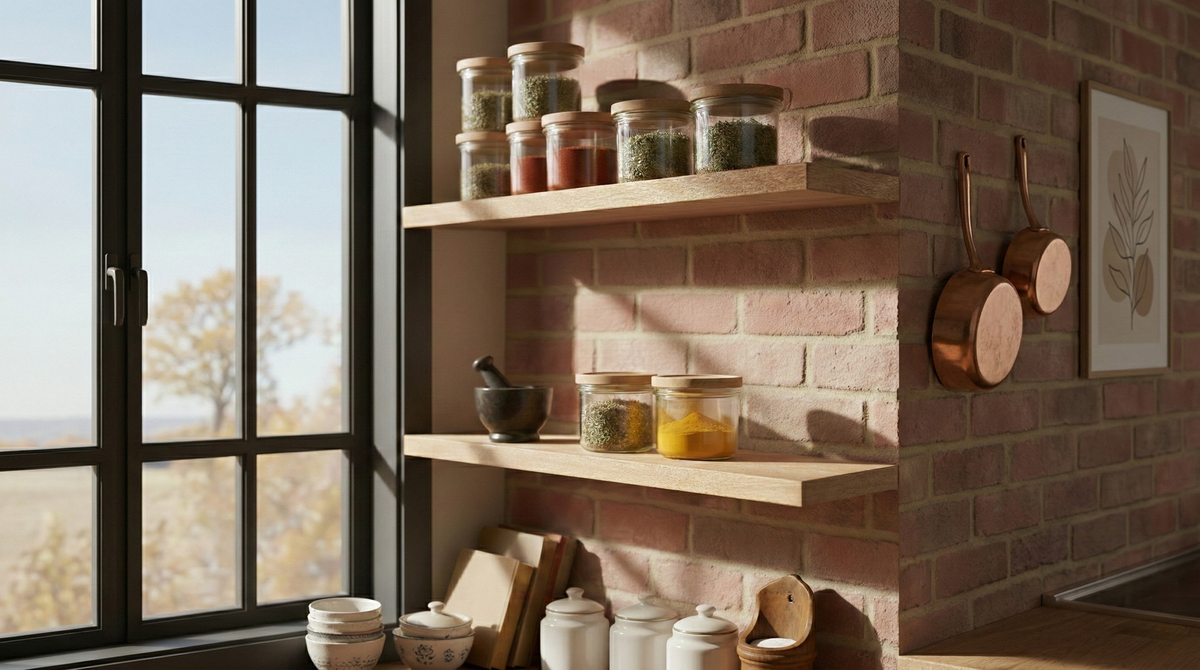
For spices and bulk, the glass jar Le Parfait Wood Edition
Rediscover the pleasure of orderly and inspiring cooking! No more cluttered cupboards, no more bags of spices and packets of pasta who pile up and disembowel themselves. With the new bocal Le Parfait Wood Edition, your shelves are transformed into a real little grocery store with authentic charm. Alliant the...